Every single year, a new batch of bright, eager, and highly stressed students gets elected to the cultural committees of India’s top colleges. Whether you are at an IIT, an NIT, a Delhi University (DU) powerhouse like SRCC or LSR, or a regional hub, the feeling of winning that election is pure euphoria.
Then, reality hits.
You look at the calendar and realize your annual festival is just three months away. You have to handle artists, manage security, sort out accommodations, and, worst of all, handle the core brand identity of your festival: the merch.
Managing merchandise for a massive student gathering is a high-stakes job. The festival t-shirt isn’t just a piece of fabric; it’s a walking billboard for your event, a souvenir that students keep for decades, and a major revenue stream. But if you have never handled large-scale procurement before, stepping into the local wholesale market can feel like walking into a trap.
Between confusing jargon like GSM, screen-printing setups, and hidden delivery fees, it is incredibly easy for innocent student organizers to get ripped off by vendors.
If you are currently wondering how to design college fest t-shirts bulk without draining your entire festival budget or making your classmates look like walking corporate banners, you have come to the right place. This comprehensive guide will break down the exact strategies used by India’s biggest festival committees to build premium, budget-friendly merchandise.
1. Budget Optimization: Smart Design Over Cheap Fabric
When structural committees look to cut down costs on custom apparel, their first instinct is usually to negotiate a lower price on the fabric. They ask the vendor for the absolute cheapest material available.
This is a massive mistake.
Dropping your fabric quality down to a flimsy 140 GSM (Grams per Square Meter) polyester mix results in see-through, scratchy shirts that students will immediately use as cleaning rags rather than wearing proudly around campus. If you want to build a real community vibe, you need a comfortable, retail-grade fabric—ideally 180 to 220 GSM 100% combed cotton or a premium poly-cotton blend.
So, if you cannot compromise on the fabric, how do you save money? The secret lies entirely within your graphic design file.
[ Total Printing Cost ]
        =
[ Number of Color Screens ] + [ Fabric Type (GSM) ] + [ Print Area Size ]
When dealing with traditional screen printing—which is the absolute cheapest and most durable method for bulk orders of 100 or more pieces—vendors charge you based on the number of colors in your artwork. Every single color requires its own physical mesh screen to be built, calibrated, and washed. If your core festival logo has six different colors, your printer has to make six individual screens before they even touch a single t-shirt. That setup cost gets factored directly into your unit price.
The Magic of Halftones and Limited Palettes
To cut your printing expenses squarely in half, you need to challenge your design team to create a high-impact visual using a maximum of one or two colors.
“But our festival theme is retro-cyberpunk/psychedelic neon! We need gradients and shading!”
No, you don’t. You just need to master halftones.
Halftone printing is an old-school graphic design technique that breaks an image down into a series of tiny, varying dots. When viewed from a slight distance, these dots blend together to look like smooth gradients, shadows, and multiple shades, even though the press only uses one single ink color.
Solid Black Ink  ---> Large Dots  ---> Dark Shadows
Solid Black Ink  ---> Tiny Dots   ---> Soft Grey Highlights
By switching from flat vector gradients to stylized halftone patterns in Adobe Illustrator or Photoshop, you can convert a complex, photographic design into a single-color file. This eliminates four or five setup screens instantly, dropping your bulk production cost by up to 40% while giving your merchandise an edgy, vintage streetwear aesthetic that students actually want to buy.
Screen Printing vs. DTF Printing: Making the Call
While screen printing rules supreme for massive runs, your festival might have smaller sub-events, specific department coordinates, or core security teams that require smaller batches. Understanding the mechanical differences keeps you from overpaying:
- Screen Printing: High upfront setup cost (per color), but near-zero cost per impression. This is your go-to method for your general attendee base and volunteer pools where the order size crosses 100 units.
- Direct-to-Film (DTF) Printing: Digital printing where the design is jetted onto a transfer film and heat-pressed onto the cloth. There are zero color limits and no screen setup fees. This is ideal for small batches (under 50 pieces), highly complex art, or personalized organizer tees featuring custom individual names or department titles.
2. Sponsorship Integration: Clean Branding vs. Corporate Billboards
Let’s address the elephant in the room: corporate sponsorships keep your festival alive. Brands like telecom giants, tech startups, coaching institutes, and fast-food chains pour lakhs of rupees into college events specifically to get their brand names in front of India’s Gen Z demographic.
In return, they almost always demand prime real estate on your official festival t-shirt.
If you let your sponsorship team handle this without design guardrails, they will say yes to every brand manager. By the time the files reach the printer, your back print will feature five different, clashing corporate logos thrown together in low-resolution JPEG squares. The result? Your expensive festival merch looks like a cheap, ugly delivery partner uniform. Nobody will wear it after Day 3, which completely defeats the sponsor’s goal of achieving long-term brand recall.
You need to protect the visual integrity of your merchandise by offering sponsors clean, premium, and non-intrusive placements that blend seamlessly with the garment.
+-------------------------------------------------------+
|                [ OFFICIAL FESTIVAL TEE ]              |
|                                                       |
|   (Front)                                   (Back)    |
|   Clean Festival                           Minimal    |
|   Artwork Only                             Artwork    |
|                                                       |
|   [Left Sleeve]                          [Bottom]     |
|   Sponsor A                              Sponsor C    |
|                                                       |
|   [Right Sleeve]                         [Nape]       |
|   Sponsor B                              Sponsor D    |
+-------------------------------------------------------+
Premium Sponsor Placement Framework
Instead of letting brands hijack the massive center-front or center-back real estate, move them to strategic structural areas of the shirt. These alternative placements feel deliberate, stylish, and high-end:
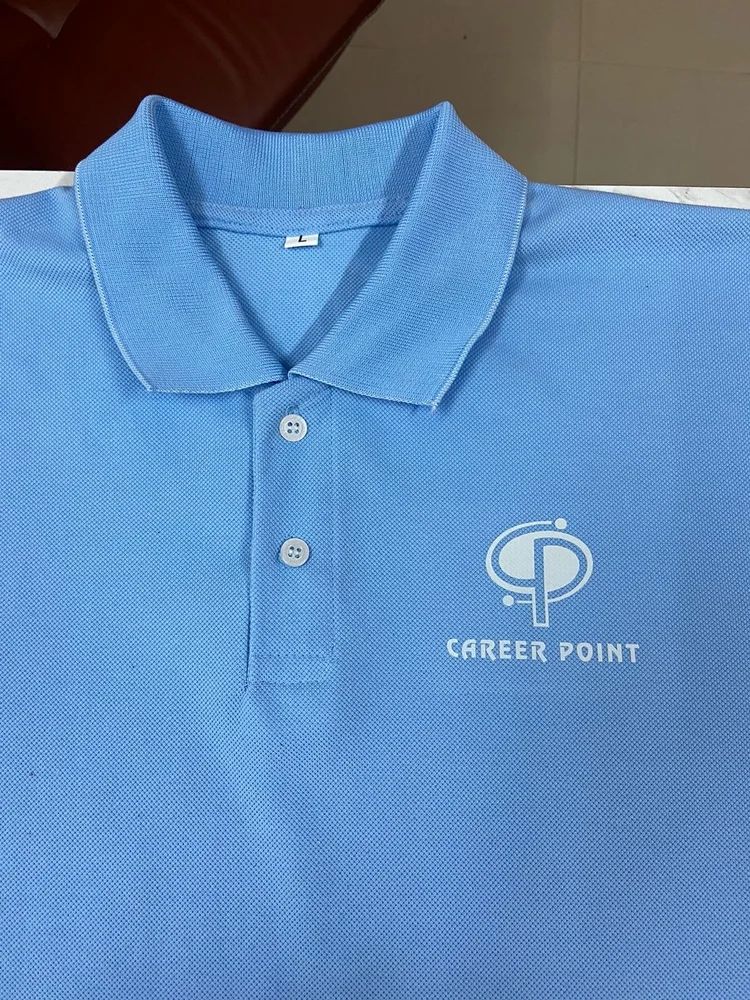
- The Left or Right Sleeve Hem: A single-color version of a sponsor logo placed 1 inch above the sleeve cuff is highly visible whenever someone lifts their hands, checks their phone, or poses for photos.
- The Outer Back Nape (Below the Collar): Placing a clean, horizontal corporate logo right below the back collar looks incredibly professional—similar to how premium streetwear and athletic brands handle their own branding.
- The Bottom Left Rib or Side Vent: A vertical or horizontal print running along the bottom side seam stays subtle while providing the sponsor with a unique, distinct positioning that stands out from standard advertising spots.
The Golden Rule: Single-Color Standardization
The absolute most important boundary you must set with your brand partners is color standardization.
No matter what their original corporate guidelines say, enforce a rule that all sponsor logos printed on the apparel must be converted into a single, uniform color—either crisp white, solid black, or a specific metallic accent that matches your main festival color scheme.
When you unify all external corporate logos under a single color palette, you achieve two massive wins simultaneously:
- You save thousands of rupees in manufacturing costs by eliminating the extra print screens required for diverse corporate colors.
- You elevate the overall design, making the logos look like an intentional, unified design choice rather than an unorganized cluster of advertisements.
3. Step-by-Step Vendor Checklist for Student Committees
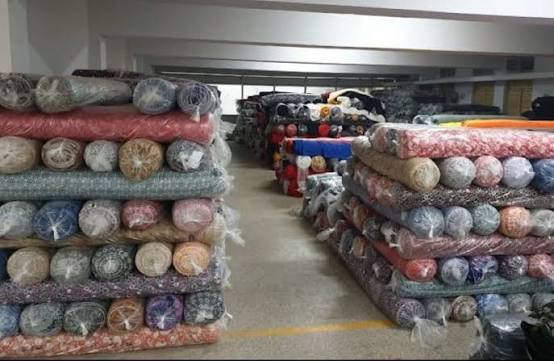
Navigating the wholesale markets of Chandni Chowk in Delhi, Tirupur in Tamil Nadu, or traditional manufacturing hubs in Ludhiana and Mumbai can be an intimidating process for a college student. Vendors can sense inexperience from a mile away and will often try to offload old, low-grade stock or overcharge for standard services.
To ensure your cultural committee secures a fair, transparent deal, follow this strict operational blueprint from initial design to final delivery tracking.
1.Vectorize the Final Master Design:Prerequisite.
Convert all artwork into high-definition vector formats (.AI, .EPS, or .PDF) using software like Adobe Illustrator. Never send standard, compressed PNGs or mobile screenshots to a bulk manufacturer. Ensure every path is clean and all fonts are converted into solid outlines so text renders perfectly.
2.Request a Pre-Production Physical Sample:Crucial for QA.
Never authorize a run of 500+ shirts based entirely on a digital mockup on a computer screen. Insist on a physical sample shirt using your exact chosen fabric weight and printing technique. Check the print crispness, verify that colors do not bleed, and stretch the fabric to ensure the ink does not crack instantly.
3.Conduct a Direct Wash and Stress Test:Before approving the run.
Take the physical sample garment and throw it directly into a standard washing machine. Wash it, dry it, and check for severe shrinking, fabric color bleeding, or logo peeling. If the sample fails this basic test, your entire crowd will have ruined merchandise after their very first wash cycle.
4.Draft a Formal Purchase Order (PO):Legal Safeguard.
Do not rely on informal WhatsApp agreements or verbal promises. Create a simple, written contract specifying the exact fabric specifications (e.g., 180 GSM 100% Cotton), a breakdown of sizing quantities (S, M, L, XL), fixed pricing including all applicable GST, and strict financial penalties for late deliveries.
Summary Sourcing Matrix
To help your finance and logistics teams make rapid decisions during busy planning meetings, reference this quick comparison matrix detailing standard bulk custom clothing specifications across Indian markets:
| Fabric Quality / Type | Best Suited For | Target Price Range (INR) | Recommended Print Method |
| 140-160 GSM Polyester | Marathon runners, daily sports events, low-budget entries | ₹75 – ₹120 per piece | Sublimation / Heat Transfer |
| 180 GSM 100% Cotton | General festival attendees, general volunteer pools | ₹140 – ₹220 per piece | Traditional Screen Printing |
| 220-240 GSM Combed Cotton | Core organizing committee, premium merchandise sales | ₹250 – ₹400 per piece | High-Density Screen / DTF |
| 300+ GSM Cotton Fleece | Winter festivals, premium department hoodies | ₹450 – ₹750 per piece | Custom Embroidery / Puff Print |
Pro-Tip on Size Distribution: When placing a large bulk order without exact pre-registrations, follow the standard Indian college demographic spread: 15% Small, 35% Medium, 40% Large, and 10% Extra-Large. This distribution minimizes leftover dead stock when the festival wraps up.
4. Launching Your Fest Merch for Maximum Sales
Once your beautiful, cost-optimized shirts are safely stacked inside your committee room, the final hurdle is driving actual sales and adoption across campus. Do not just sit behind a dull wooden registration desk on day one expecting crowds to magically line up. You need to treat your merchandise launch like a real streetwear drop.
1. Leverage Campus Ambassadors for Organic Hype
Your campus ambassador network is your strongest organic marketing asset. Send high-quality preview samples to influential students, society heads, and content creators across different departments a week before the general release.
Have them wear the merchandise casually in their daily Instagram Reels, festival countdown videos, and casual campus walkthroughs. When students see their peers pulling off the look naturally in everyday campus settings, it transforms the shirt from a basic souvenir into a highly desirable fashion statement.
2. Implement Tiered Scarcity Pricing
Create a clear sense of urgency by setting up structured, time-sensitive pricing tiers.
[ Early-Bird Phase ]  --->  [ General Release ]  --->  [ On-Spot Fest Days ]
     ( Lowest Price )            ( Standard Price )             ( Highest Price )
Offer a heavily discounted “Early-Bird” price exclusively for students who pre-order online during the first 48 hours of your website launch. Once that window closes, bump the price up to the standard rate, and keep the highest price tier reserved for last-minute buyers at the physical venue stalls during the event. This structure front-loads your cash flow, giving your finance team extra liquidity to pay off early vendor deposits.
3. Create Seamless Digital Payment Gates
Avoid messy, error-prone cash collection at your physical campus desks. Set up centralized, clear UPI QR codes linked directly to your college festival’s official bank account, or integrate digital ticketing platforms.
Provide instantaneous digital receipts or scannable tokens that students can easily present at a dedicated, fast-track collection booth. Streamlining the payment process removes friction, minimizes checkout lines, and prevents manual accounting errors during the chaotic rush of the festival days.
The Ultimate Checklist for Your Next Committee Meeting
Before you sign any contracts or send money to an apparel vendor, print out this quick diagnostic checklist and run through it with your core management team:
- [ ] Is our master design file fully converted into clean vectors with text converted to solid outlines?
- [ ] Have we optimized our design to use a maximum of two colors to avoid paying for excess printing screens?
- [ ] Are all sponsor logos standardized to a single, clean color that matches our clothing palette?
- [ ] Have we moved corporate logos away from the center chest/back to premium spots like the sleeve or collar nape?
- [ ] Did the vendor commit to a 180+ GSM combed cotton fabric option rather than cheap promotional material?
- [ ] Do we have a signed agreement or written PO detailing exact sizing breakdowns and clear late-delivery penalties?
By taking full control of your design setup, optimizing your color count, and managing your corporate sponsor placements cleanly, you can easily save up to 50% on your bulk production costs. More importantly, you will deliver a beautiful, premium garment that your college community will proudly wear for years to come.
Good luck with your festival—now go make that merch drop unforgettable!
See Also
DTF vs DTG Printing Cost in India: The Ultimate Reality Check for Your T-Shirt Brand
Branded T-shirt wholesale market in Delhi / T-shirts – Lower Wholesale,Lower manufacturer