
The best file format for T-shirt printing depends on the printing method. PNG files with transparent backgrounds are useful for many digital-print workflows, while SVG, AI, EPS and vector PDFs suit scalable logos and screen-print preparation. For raster artwork, 300 DPI at final print size is a common production target, subject to the printer’s specifications.
If you have ever spent hours designing a killer graphic on Canva, Photoshop, or Illustrator, only to have your local printer call you saying, “Bhaiya, file phat rahi hai” (the file is pixelating) or “Background white aa raha hai”, you already know how frustrating file formats can be. Whether you are launching your own streetwear label in Bengaluru, ordering custom college fest tees in Delhi, or running a print-on-demand store from Mumbai, sending the wrong file format can turn a ₹500 premium cotton tee into a blurry disaster.
Let’s break down everything you need to know about choosing the best file format for T-shirt printing so your designs come out crisp, vibrant, and exactly how you imagined them on screen.
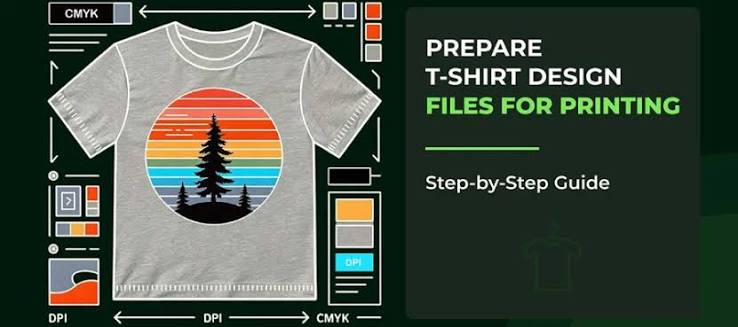
Which File Format Is Best for T-Shirt Printing?
There is no single magic file that works for every printing machine in the market. Your choice comes down to two things: what your artwork looks like (a detailed photograph vs. a clean typographic logo) and which printing method your vendor is using.
Raster vs. Vector Graphics: Understanding the Basics
Before picking a file extension, you need to understand the two tribes of digital graphics:
- Raster Images (PNG, JPG, PSD, TIFF): These are made up of thousands of tiny coloured squares called pixels. Think of them like a mosaic. If you zoom in too much or stretch a small raster image onto an XXL T-shirt, those tiny squares become visible, making your print look blurry and jagged. Raster files are best for complex illustrations, digital paintings, and photographs with millions of colour gradients.
- Vector Graphics (SVG, AI, EPS, Vector PDF): Instead of pixels, vectors use mathematical equations to draw lines, curves, and shapes. Because it is pure maths, you can scale a vector logo from the size of a ₹1 coin to the size of a highway billboard without losing a single drop of sharpness. Vectors are the undisputed champions for typography, brand logos, mascots, and flat illustrations.
Matching Your Artwork to the Printing Method
In India, most custom apparel manufacturers rely on three primary printing technologies. Choosing the best file format for T-shirt printing means matching your file to the machine:
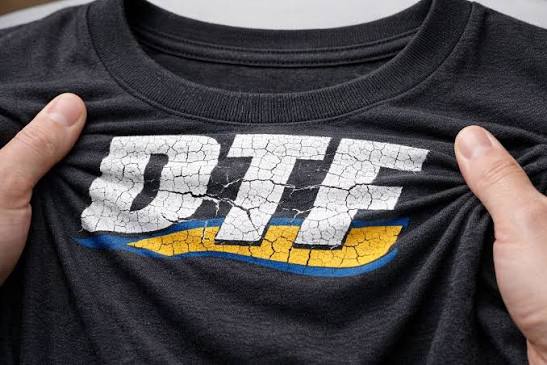
- DTF (Direct-to-Film) & DTG (Direct-to-Garment): These digital printers work very much like high-end inkjet printers. They love high-resolution PNG files with transparent backgrounds (300 DPI) or high-res PDF files.
- Screen Printing: Still the king for bulk orders (50+ pieces) in hubs like Tiruppur and Ludhiana. Screen printers need to separate your design into individual colour layers to burn onto mesh screens. They strictly prefer vector files (AI, EPS, or Vector PDF) with outlined fonts.
- Sublimation & Vinyl (HTV): Vinyl cutters need vector paths (SVG, AI, or EPS) so the blade knows where to cut. Sublimation printers work great with PNG or PDF files at 300 DPI.
PNG vs JPG vs SVG vs PDF vs AI: Comparison Table
To save you from back-and-forth WhatsApp messages with your printer, here is a quick cheat sheet comparing the five most common graphic formats used in apparel production.
| File Format | Graphic Type | Supports Transparency? | Scalability | Best Printing Method | Ideal Use Case |
| PNG | Raster (Pixel-based) | Yes | Fixed (Must be sized at 300 DPI) | DTF, DTG, Sublimation | Detailed digital art, complex graphics, gradient designs |
| JPG / JPEG | Raster (Pixel-based) | No (Adds solid white/black box) | Fixed (Loses quality when saved repeatedly) | Not recommended (Emergency use only) | Full-bleed rectangular photos without transparent edges |
| SVG | Vector (Math-based) | Yes | Infinite (Scales without quality loss) | Vinyl (HTV), Screen Printing, Web | Logos, simple icons, Cricut/plotter cutting, text designs |
| Hybrid (Vector & Raster) | Yes | Infinite (If exported as Vector PDF) | Screen Printing, DTF, DTG, Offset | Universal print-ready artwork, multi-layer designs | |
| AI | Vector (Native Adobe) | Yes | Infinite (Scales without quality loss) | Screen Printing, Embroidery digitising | Master source files, complex multi-colour separations |
Why JPG Is Usually a Bad Idea for Custom Tees
Many beginners export their designs as JPGs because it is the default option on mobile apps. However, JPG does not support transparent backgrounds. If you send a circular logo as a JPG, your printer will end up printing a giant white square around your logo on a black T-shirt. Furthermore, JPG uses “lossy” compression, which creates fuzzy artefacts around sharp text. Always stick to PNG or vector formats when figuring out the best file format for T-shirt printing.
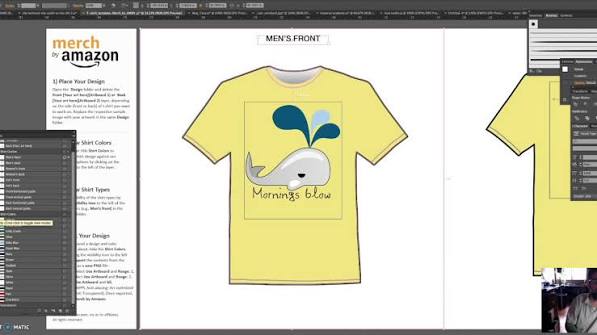
What DPI Is Required for T-Shirt Printing?
Is 300 DPI good for T-shirt printing? Yes, 300 DPI (Dots Per Inch) at the actual print size is the gold standard for T-shirt printing. It ensures that raster designs—like PNGs and digital illustrations—print with crisp edges and smooth colour transitions without visible pixelation on fabric. While screen printing sometimes tolerates 150–200 DPI for large, simple graphics, keeping your artwork at 300 DPI guarantees professional results across DTF, DTG, and sublimation.
Why “At Actual Print Size” Matters
A very common trap designers fall into is checking the file properties and seeing “300 DPI,” thinking they are safe. However, if your image is 300 DPI at 2 inches by 2 inches, and you tell your printer to stretch it across a 12-inch by 14-inch chest area, the effective resolution drops to roughly 50 DPI. That will look terrible on cotton.
Always set your canvas dimensions in inches or centimetres before you start designing:
- Left Chest Pocket Logo: 3.5″ × 3.5″ (1050 × 1050 pixels at 300 DPI)
- Standard Front / Back Graphic: 12″ × 14″ (3600 × 4200 pixels at 300 DPI)
- Oversized Streetwear Back Print: 14″ × 16″ (4200 × 4800 pixels at 300 DPI)
Pixelated vs. Sharp Artwork: How to Spot the Difference
Before emailing your file to the press, do the 100% Zoom Test on your laptop:
- Sharp Artwork: When zoomed in to 100% (actual print size), lines look crisp, typography has clean corners, and colour gradients transition smoothly without blocky steps.
- Pixelated Artwork: When zoomed in, curves look like tiny staircases (aliasing), thin text appears blurry or washed out, and stray semi-transparent pixels float around the edges of your graphic.
Pro Tip: Never take a low-resolution 72 DPI image downloaded from Google Images and simply change the DPI setting to 300 in Photoshop. Software cannot invent detail that wasn’t there in the first place—it just makes the blurry pixels bigger.
How to Prepare Artwork for DTF Printing
Direct-to-Film (DTF) has taken the Indian custom apparel industry by storm because it works on cotton, polyester, blends, and dark garments without needing expensive screen setups. However, preparing print ready artwork for DTF requires a few specific tweaks so the white underbase ink doesn’t ruin your design.
1. Keep the Background 100% Transparent
DTF printers lay down a layer of white ink behind your colours so they pop on dark T-shirts. If your PNG has a faint, semi-transparent background glow or leftover eraser marks, the printer will lay white ink underneath those stray pixels—leaving an ugly white halo or dusty crust around your design.
2. Avoid Semi-Transparent Drop Shadows and Glows
Soft outer glows and faded smoke effects look great on an Instagram post, but they are a nightmare in DTF printing. Because DTF ink needs a solid white base to stick to the adhesive powder, semi-transparent pixels (anything between 1% and 80% opacity) either get printed with solid white behind them (creating a harsh grey smudge) or don’t adhere to the shirt at all. Use solid colours or halftone dots instead of soft opacity fades.
3. Watch Your Minimum Line Thickness
Very thin hairline fonts or delicate 0.5 pt lines might not hold enough adhesive powder during the DTF curing process, causing them to peel off after the first wash. Keep your thinnest lines and text strokes at least 1.5 pt to 2 pt thick.
4. Export Settings for DTF
- Format: PNG-24 (with Transparency checked) or Print-Ready PDF.
- Resolution: 300 DPI at exact print dimensions.
- Canvas Crop: Trim excess empty transparent space around your artwork so the printer can accurately calculate the exact print width and height.
How to Prepare Vector Files for Screen Printing
If you are ordering 100 T-shirts for a corporate hackathon or launching a high-margin streetwear drop, screen printing offers unmatched durability and rich ink feel. Submitting a clean vector file for screen printing will save you from hefty artwork setup charges.
1. Convert All Text to Outlines (Curves)
Imagine sending an .ai file using a trendy custom font you downloaded online. When the printer opens your file on their workstation, they won’t have that font installed, and Illustrator will automatically replace your cool typography with basic Arial!
- In Adobe Illustrator: Select all text (
Ctrl + A) and pressCtrl + Shift + O(Windows) orCmd + Shift + O(Mac) to Create Outlines. - In CorelDRAW: Select text and press
Ctrl + Qto Convert to Curves.
2. Expand Strokes and Appearance
If you used thick borders, brushes, or effects on your shapes, go to Object > Expand Appearance and Object > Expand in Illustrator. This converts strokes into solid vector shapes so they don’t accidentally change thickness when the printer scales your artwork.
3. Keep Colours Separated and Clean
Screen printing charges per colour because each colour requires a separate physical mesh screen. Instead of using 15 slightly different shades of red, merge similar colours and use Pantone (PMS) Solid Coated swatches if exact brand colour matching is critical.
4. Save in Compatible Formats
Not every print shop in India uses the latest Adobe Creative Cloud subscription—many still run older versions of CorelDRAW or Illustrator CS6. Alongside your native AI file, always include an EPS or Vector PDF so they can open it without compatibility hiccups.
RGB vs CMYK: What Designers Need to Know
One of the biggest shocks for new clothing brand owners is seeing neon blues and electric greens turn dull and muddy once printed on fabric. This happens because of colour modes:
- RGB (Red, Green, Blue): Used by digital screens (phones, laptops, monitors). Screens emit light, allowing them to display super-bright, neon colours that simply do not exist in physical ink.
- CMYK (Cyan, Magenta, Yellow, Key/Black): Used by physical printers. Ink absorbs light on fabric, meaning the colour gamut (range) is naturally slightly smaller than what your backlit monitor shows.
Which Colour Profile Should You Use?
- For Screen Printing: Always work in CMYK or Pantone Spot Colours.
- For DTF and DTG Printing: Most modern DTF RIP software (like AcroRIP or Cadlink) actually prefers sRGB files because their internal profiles convert RGB to CMYK+White ink with higher vibrancy. However, designing in CMYK (or soft-proofing in CMYK) gives you a much more realistic preview of how the ink will look on cotton fabric, preventing nasty surprises with neon shades.
Common Artwork Mistakes That Affect Print Quality
Even when you pick the best file format for T-shirt printing, small oversight errors during export can delay your order by days. Keep an eye out for these frequent blunders:
- Designing in Canva Free Without High-Res Export: Canva is awesome for quick mockups, but free accounts limit export sizes and don’t allow transparent PNG downloads. If you use Canva, use Canva Pro to export as a PDF Print (with CMYK colour profile) or upscale your canvas to 4000 × 4000 pixels with a transparent PNG background.
- Renaming a File Extension Manually: Simply changing
logo.jpgtologo.pngorlogo.svgby renaming the file on your desktop does not convert the file! It just corrupts the file header. Always use proper export tools in Illustrator, Photoshop, Inkscape, or Photopea. - Unembedded Linked Images: If you place a raster texture inside an Adobe Illustrator
.aifile and forget to click “Embed”, the printer will get a “Missing Link” error when they open your file on their computer. Always embed images or package your files. - Forgetting Garment Colour Contrast: Designing with pure black ink (
#000000) on a transparent background looks fine on your white screen, but if you order black T-shirts, your design will disappear completely unless you add a white outline or adjust the artwork for dark garments.
Final Print-Ready Artwork Checklist
Before hitting “Send” on that email or WhatsApp document upload to your printer, run through this downloadable-style pre-flight checklist. You can copy, save, or print this list for every merch drop:
- [ ] Correct File Format Chosen: PNG (with transparency) for DTF/DTG, or Vector (AI, EPS, SVG, Vector PDF) for screen printing and vinyl.
- [ ] Resolution Verified: Set to 300 DPI at actual final print dimensions (e.g., 12″ × 14″ = 3600 × 4200 px).
- [ ] 100% Zoom Check Passed: Viewed at actual size on screen with zero blurry edges or pixelation.
- [ ] Transparent Background Clean: No leftover white boxes, stray eraser pixels, or faint semi-transparent halos.
- [ ] Fonts Outlined / Converted to Curves: All text turned into vector shapes (
Ctrl + Shift + O) so fonts don’t substitute. - [ ] Linked Images Embedded: All external textures or photos inside AI/PDF files are properly embedded.
- [ ] Line Thickness Checked: Thin strokes and small text are at least 1.5 pt thick so they don’t peel or bleed.
- [ ] Colour Mode Checked: Designed or soft-proofed in CMYK/sRGB as requested by the printer, with no unprintable neon expectations.
- [ ] Garment Contrast Checked: Artwork colours adjusted appropriately for light vs. dark T-shirt fabrics.
- [ ] File Properly Named: Saved clearly with size and placement details (e.g.,
BrandName_BackPrint_12x14in_300DPI.png).
Frequently Asked Questions (FAQs)
1. Can I use a PNG file for screen printing?
Technically, yes—if it is a single-colour design at 300 DPI or higher, a printer can convert it into a film positive. However, for multi-colour designs, screen printers strongly prefer vector files (AI, EPS, or Vector PDF) because separating colours from a flat PNG takes extra manual labour and often incurs design charges.
2. Is SVG better than PNG for T-shirt printing?
SVG is better than PNG for logos, typography, and flat graphics because it is a vector format that scales infinitely without pixelation. However, PNG is better than SVG for complex illustrations, vintage distressed textures, and photographic artwork that rely on millions of pixels and colour blends.
3. How do I send T-shirt files to my printer on WhatsApp without losing quality?
Never send your artwork as a standard image on WhatsApp, as WhatsApp automatically compresses images and destroys the resolution and transparent background. Always tap Attach > Document and send your PNG, PDF, or AI file as a document so it arrives at 100% original quality.
4. What is the best free software to create print-ready T-shirt files?
If you don’t have Adobe Illustrator or Photoshop, Inkscape (free open-source vector software for SVG/PDF) and Photopea (free browser-based Photoshop alternative for 300 DPI PNGs) are fantastic tools for creating professional, print-ready apparel graphics.
See Also
- Optimizing T-Shirt Design Files for Printing
- Master Guide: T-Shirt Back Graphic Design Layout Placement for Indian Streetwear Brands
- What Type of File Is Needed for Screen Printing
- 10 Creative Hindi Typography T-Shirt Design Ideas to Hook Desi Audiences
- What’s the Right Image Size for T-Shirt Designs?